We’re coming towards the end of the series on how to create a capsule wardrobe. A few bloggers who cover similar themes have asked why I haven’t charged for it or at least collected email addresses in return for the downloads so I thought I’d explain for others who are wondering. I’m very flattered that you think it’s worth charging for but there are two reasons why I haven’t. Firstly, it’s been a way of giving something back to Midlifechic readers who are always supportive when I write sponsored posts. I did a couple of extra ones in the run up to Christmas which enabled me to dedicate January to this series, knowing that my blog costs are covered. Secondly, I’m hoping that it may help us all to think about how many clothes we need.
I appreciate that I’m in a lucky position of sometimes being gifted items by brands. It would be easy to accept far more than I do but I try to draw a line so that I have enough to feature on here to keep it fresh but not so much that it becomes unrealistic. It’s yet another of the reasons why I’ve stepped back from Instagram recently – the acceptance of gifted clothing in order to fill feeds feels as though it’s getting out of hand. I could counterbalance it by going on and showing what I wear every day (which is very capsule related) and maybe I will when there are longer days to take photos. As it stands at the moment I barely open Instagram because I find it makes me want to scream.
So without meaning to sound too worthy, this series has also been an attempt to pull back on the overconsumption that surrounds us. If it means we all (me included) have a clear focus on what actually suits us and what we really need before the new season starts to drop then I’ve done something useful with this blog. Oh – and on the email address thing, as a marketer I don’t want to store data. I will never sell it, share it or use it to flog stuff so there’s no point, it just gives me another GDPR headache.
Let’s move on. I’ve spent a lot of time in London this week having meetings and viewing new SS19 collections so soon we’ll be able to start talking about trends and what’s coming – although a lot of it still won’t land for another month. In the meantime, I want to carry on with identifying what works best for us as individuals so that we can avoid past mistakes. Today is about silhouette which is something that’s been discussed a billion times but I want to get into detail.You see when we move on to the trend posts, I’ll be banging on about silhouette in new season terms but it’s completely irrelevant unless you know your own shape and how to apply what you see. And even if you decide to rebel and dress against it, there will be small details that are worth acknowledging.
Know your outline shape
Now I know there’s a bit of a backlash against using fruit terms going on at the moment. In this era of general outrage there seems to be a backlash against everything though and I don’t see fruit as being harmful so I’m sticking with it. Plus these are the very first illustrations that Mr MC ever did for my blog so I’m fond of them. I’m sure you probably already know which one is closest to your shape but if not, how do you work it out?
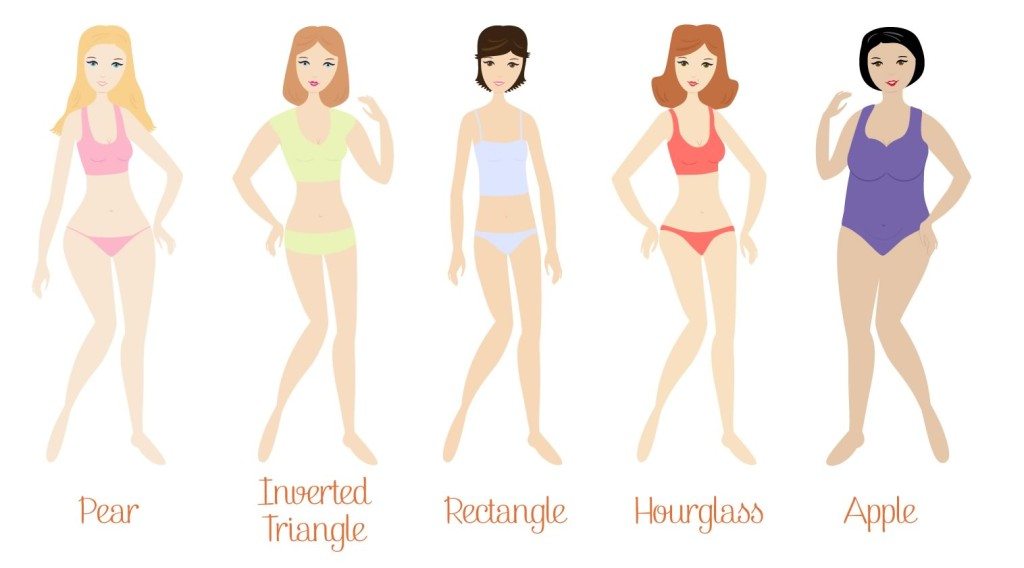
Well if you’re stuck (which I was when I started blogging), here’s an idea. Get someone to take a quick photo of you dressed in something that outlines your shape. Here’s mine from one of my very first posts in 2014 and I should probably have asked for the camera to be held a bit lower but the result would still have been the same.
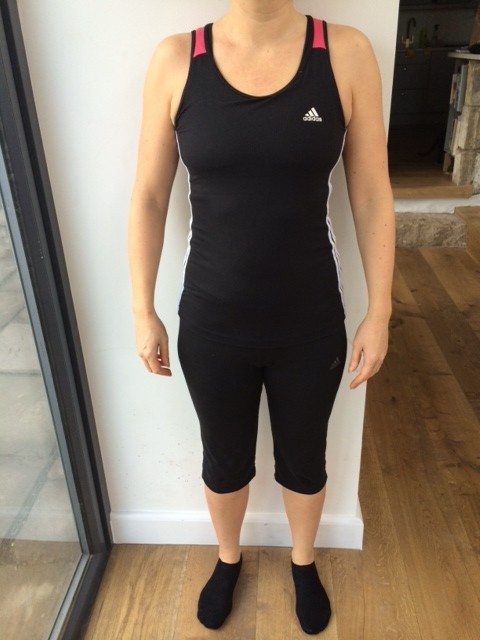
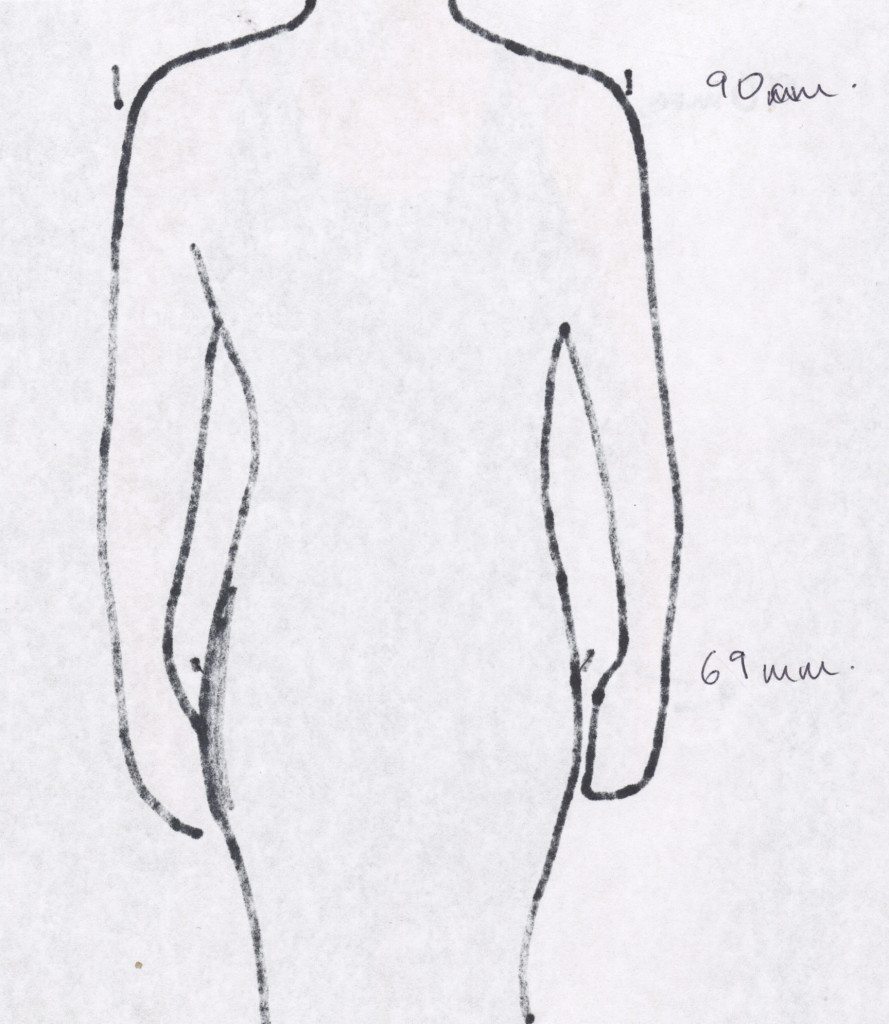
Now, using tracing paper or just a thin sheet of A4, go over your outline. You should be able to see yourself much more clearly. Measure any significant points – as you can see I wasn’t sure whether I was a neat hourglass or an inverted triangle so I compared the width of my shoulders with my hips to get the answer…inverted triangle I am. This instantly tells me that my shoulders dictate what I wear. If I try anything loose and unstructured, it simply hangs from this widest point making me look much bigger than I am. I therefore need to cinch things in at the waist and balance my shoulders with width at the hem if possible – hence my love of full skirts and flared trousers.
Know your proportions
Once you’ve decided on your overall shape, the next thing is to assess your proportions. If your torso is longer than your legs (like mine), you are long waisted. If you’re the other way round with long legs and a shorter torso, you’re short waisted. One of the reasons that I almost always wear a low heel is to redress this balance. If I wear brogues or flat boots, I look dumpy despite the fact that I’m 5ft 8. For me a flat shoe has to have a low vamp (like a ballet flat) to help counter this by visually lengthening the leg.
When you know whether you’re long or short bodied, you can also decide where to fix your waist. Your natural waist is probably somewhere just below your navel. As a long bodied person I always try to place mine higher so that it sits at the bottom of my ribs. This is why I’ll always look better in something like a Boden high-waisted dress than Hush’s low rise jeans. If you’re short bodied, you’ll be the other way round and low rise jeans or dropped waist dresses will be your friend.
Know your frame size
The next step is to understand what size frame you have. This has nothing to do with your weight – even if I went down to a size 6 (never going to happen!) I would still have a large frame. Here’s the standard guide to understanding what you are:
| Height | Small framed | Medium framed | Large framed |
|---|---|---|---|
| Under 5ft 2 | wrist less than 14cm | wrist 14cm to 14.6cm | wrist over 14.6cm |
| 5ft 2 to 5ft 5 | wrist less than 15.2cm | wrist 15.2cm to 16cm | wrist over 16cm |
| Over 5ft 5 | wrist less than 16cm | wrist 16cm to 16.5cm | wrist over 16.5cm |
Knowing your frame size can give you an idea on scale – it’s pretty logical but it suggests that smaller patterns/ checks / spots / stripes will probably work better on a smaller frame and may feel frumpy on a larger one. Conversely a large pattern may well overwhelm a small frame. It can help to think about the scale of your frame in terms of accessories too. If you have a medium frame it makes sense to opt for medium scale accessories such as bags unless you’re playing with proportions to make a specific statement.
Knowing your frame size can also help to give you an idea of where to shop because retailers often design for their native country’s most standard frame. For example French and Spanish brands such as Sézane, Maje, Zara, Massimo Dutti etc tend to base their designs on a smaller frame size. Scandi brands such as Cos, Arket, H&M veer towards the statuesque.
Know your break points
When I did my Q&A in the summer, I mentioned that it’s useful to know your horizontals and your break points. Since then I’ve been asked repeatedly for more detail on this so here we go. Look back at your outline drawing and assess your widest points. These are your horizontals and, as I mentioned when discussing my shoulders, if you allow fabric to hang from any of those spots it can make your whole body look wider than it is. If you’re a column shape you don’t really need to worry about it but if you’re curvy, it’s worth deciding how you want to dress these points. So for example I know that I need to avoid shoulder pads in jackets and that in summer a halterneck is my best neckline because it breaks up the expanse.
There are great break points that will be completely unique to you and it’s worth knowing where they lie so that you can use them to elevate your outfits. For almost everybody, ankles and wrists are a given and a cropped trouser leg or a bracelet length sleeve is more flattering than full length.
We’ve already talked about understanding the best break point for your waist. The next spots to consider are the break points for your legs so that you know exactly where a hem looks best – and it’s worth altering whatever you buy to fall at one of your points. So, ideally wearing opaque tights, grab a towel and stand in front of a mirror. Holding the towel horizontally move it up and down your legs until you find the exact point that looks best for each of these (and note what a difference an inch can make):
- Your break point for cropped trousers (often about a thumb’s length above the ankle bone)
- Your break point for a midi-skirt (usually where the calf narrows)
- Your break point for a knee-length skirt (can be anywhere depends on whether you have fine or broad patella)
- Your break point for a mini skirt or if you don’t wear minis, for a short coat to be worn with skinny jeans / tunic with leggings etc (usually the point before the thigh starts to widen).
Some people also define their best break point for sleeves. Go back to your silhouette shot and look at the horizontals again. For most people (including me), a full length sleeve is level with the widest part of the hips – which is why a rolled up sleeve is such a popular styling trick for a blazer or shirt. Not only does a long sleeve make you look wider, the solid block that it creates also cuts the body in half so if you’re long-bodied, it makes your legs look shorter. Now if I lived in a warm country I would always wear a shorter sleeve so that I didn’t create a visual break point at my widest part. As it is, I need to be warm so instead I always wear fitted sleeves to counteract it.
If you think a bit more about the broadening effect of a horizontal line you realise why the asymmetric midi shows no sign of disappearing!
General styling tips for different silhouettes
Petites
- You may find that horizontal stripes make you look even more petite – belts can have the same effect
- SS19’s dropwaisted dresses could be good for you – lowering the waistline can make your torso look longer and narrower
- Slim sleeves in a high set armhole will have the same torso-lengthening effect, broad slouchy sleeves narrow the gap between shoulder and waist making you look shorter
- Dresses rather than a skirt and top will lengthen the line of the body
- Empire waistlines can have the same impact
- A fitted coat that hits above the knee is a good trick
- You may find that mid-calf boots work better than knee-high ones, your legs will appear longer
- If you have sleeves or trousers shortened to fit, check that the garment’s proportions will still work. You may need to have them narrowed as well to retain the balance.
Column figures
- If you don’t have a defined middle, a belt slung lower on the hips may create the illusion better than a belt at the waist. Alternatively knotting a shirt at the waist is a good effect.
- If you want your breakpoint to be at the waist, create curves with a voluminous top tucked into jeans or a pencil skirt. Alternatively try a neat fitting top tucked into wide trousers or a full skirt.
- Play with heavier, textured fabrics on your lower half such as cord, velvet and heavy flannel for perceived volume.
Curvy figures
- Look for clothes that skim your bodyshape – hiding yourself under baggy layers can add bulk
- Avoid fussy detail at the neckline, gathers and frills. Do scarves add extra bulk at the top?
- Try tops with a blouson shape that settle low on the hips. Wear them with trousers or jeans in a slim, straight cut – Hush and Hope are both great at this silhouette
- Asymmetry is a great look for you as it drapes over curves and moves the eye diagonally across the body
Pear shapes
- Go with your body – column dressing will probably make you appear bigger than you are
- Knee-length cardigans or coats look great worn over a slim cut dress or trousers
- Bardot tops or seaming across the top of a dress or shirt rebalance the hips
Short-waisted (your body is short in proportion to your legs)
- Try to set your waist break point below your natural waist – eg with a long top over a short skirt or a long jumper over jeans
- If wearing a belt, match it to your top
Long-waisted
- Bring your waist break point higher so wear high rise jeans with a knotted shirt, or tuck your top into your skirt.
- If wearing a belt, match it to your trousers
Broad shoulders
- Avoid strapless tops, even spaghetti straps can make the shoulders look wider
- Halternecks are always flattering as they break up the line
Necklines
- You need a good neck and jaw to wear a polo-neck. If your neck is short or your jawline has sagged, it won’t work for you unless you can find one that stands away from the neck and creates shadows
- Square necklines are flattering for small faces
- Almost everybody looks fab in a boatneck
- A wide v-neck slims the torso
- Crewnecks are very on trend but one that scoops slightly to reveal the clavicles will be much more flattering
Midlife lately
So, next week I’ll bring all of this to a close – I hope it’s been useful and also a bit of fun. I’ve just read through this and I think I sound a bit weary – which I am. It’s been a long week with lots of strategy meetings. Both big national and small local clients are finding it really hard to get going this year because of the uncertainty surrounding Brexit. That, of course, makes it difficult to develop plans for them… which makes it difficult for anybody running a business… well just difficult for anybody really. I’m sorry to mention the B word but I do always say that this blog needs to be a snapshot of life for my great grandchildren to reflect on.
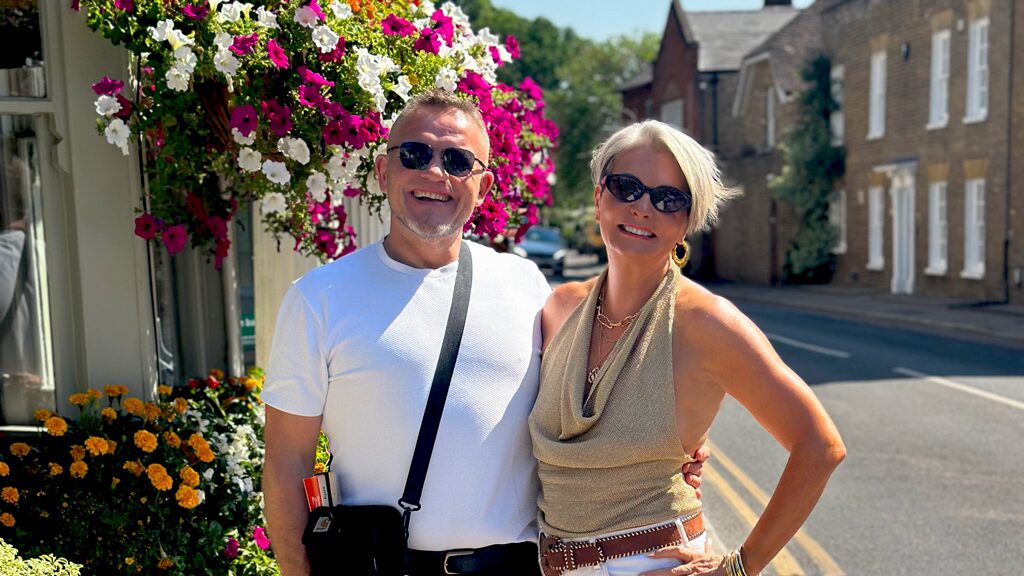
Anyway, let me just share the highlight of my week with you. On Tuesday I had a day of seven solid meetings back to back but at the end of it all there was light. I had dinner with Gillian H who has been a reader since the very beginning and often posts in the comments. We both travel to London regularly and for once our stars aligned and we got together. We chatted for almost six hours solid and I have to say it’s been a while since I’ve shared not one but two bottles of wine on a work night! Anyway here we are at the end of it looking a bit bleary but you’ll be pleased to know that we’d solved most of the world’s problems in the course of our chat. New friends are one of the most unexpected pleasures to come from this blog.

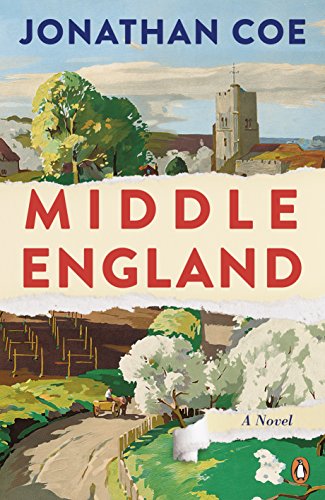
We haven’t had a book recommendation for ages so here’s a topical ‘state of the nation’ one that I enjoyed over Christmas:
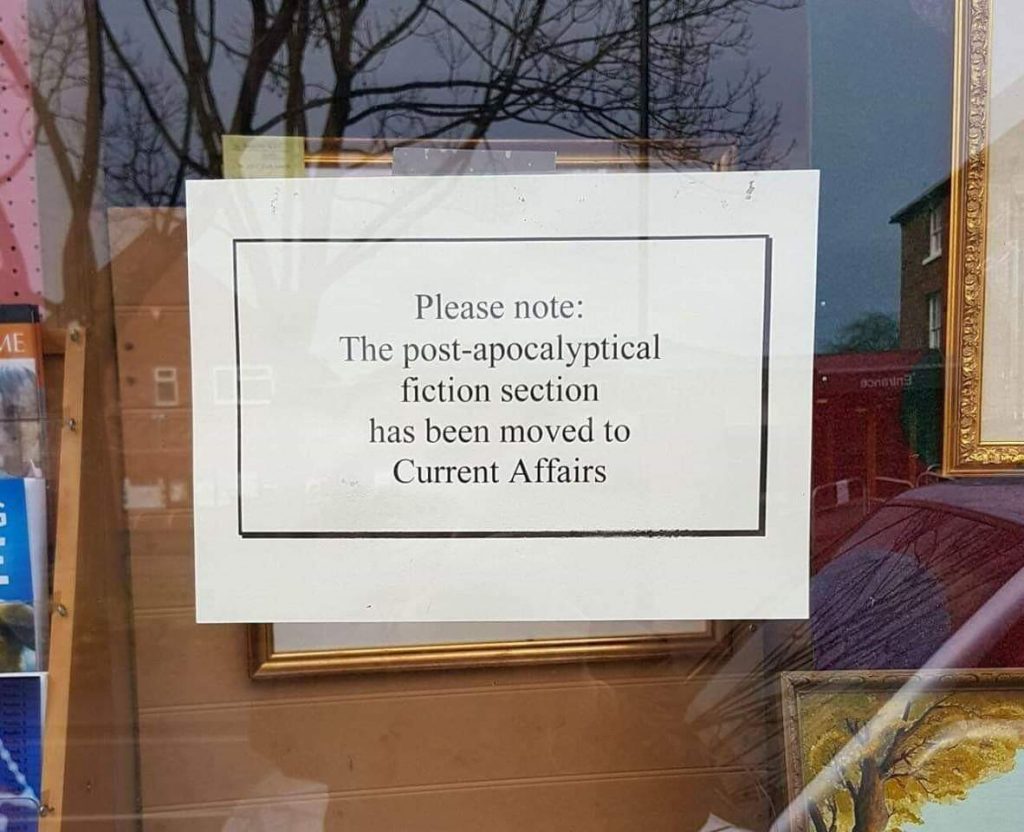
While we’re on the theme of bookshops (and the state of the nation), here’s a sign from a bookshop window that’s been doing the rounds on Twitter:
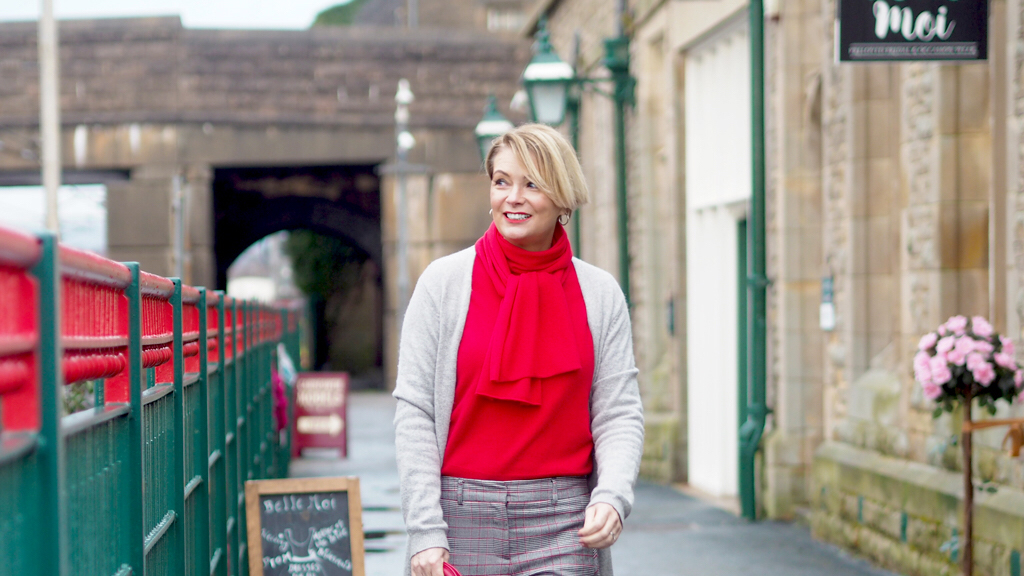
And here I am today – at least it isn’t as cold as it has been recently – the nights are getting lighter and the snowdrops are almost out so hope lies ahead.

Hush long grey cardigan AW15; jumper; M&S scarf AW18; trousers (now in the sale – gAW18); Boots (gAW18)
Have a lovely weekend – thank you, as always, for reading – I’ll be back on Tuesday.
Disclosure: “How to create a capsule wardrobe” is not a sponsored post
Recent posts you may have missed
How to build a capsule wardrobe part 4 – defining your style icon
How to build a capsule wardrobe part 3 – colour and texture
How to build a capsule wardrobe part 2 – defining your personal look
How to build a capsule wardrobe part 1 – wardrobe reality check
New year, new plans at Midlifechic
Sale prepping – my best high street winter buys
Disclaimer: as with the majority of blogs, products featured on Midlifechic sometimes (but not always) include affiliate links. This means that if you choose to make a purchase, you are helping to support the site because a small referral commission may be paid. This contributes towards hosting fees, software costs, site maintenance and other plug-ins. Midlifechic could not exist without these small payments, so every contribution makes a big difference.